- ACore CMS 1. AzerothCore Content Management System based on WordPress which provides a native integration with AzerothCore Emulator while having a robust and flexiable platform to manage your website content.
- Features 1. - Quick and Easy Setup: With Docker and docker-compose. 1. - Multiple Operating Systems Support: If it can run Docker, you can run it. 1. - Customisable: Various systems to work with other popular plugins like WooCommerce. 1. - Natively Supported by and for the AzerothCore Emulator
- Requirements 1. - Docker & docker-compose 1. - Nodejs & npm
ACore CMS
AzerothCore Content Management System based on WordPress which provides a native integration with AzerothCore Emulator while having a robust and flexiable platform to manage your website content.
Features
- Quick and Easy Setup: With Docker and docker-compose.
- Multiple Operating Systems Support: If it can run Docker, you can run it.
- Customisable: Various systems to work with other popular plugins like WooCommerce.
You can add, modify, create within the acore-cms plugin, themes and others, while benefiting from REST/GraphQL APIs, if available.
You can read more about what comes with acore-cms by checking documentation in the docs folder.
Whether you’re building a simple website or a complex e-commerce site, ACore CMS provides the tools you need to create and manage your content effectively.
[!IMPORTANT] At this current point
acore-cmsdoes not provide anyWordPressthemes, only the functionality.
- Natively Supported by and for the AzerothCore Emulator
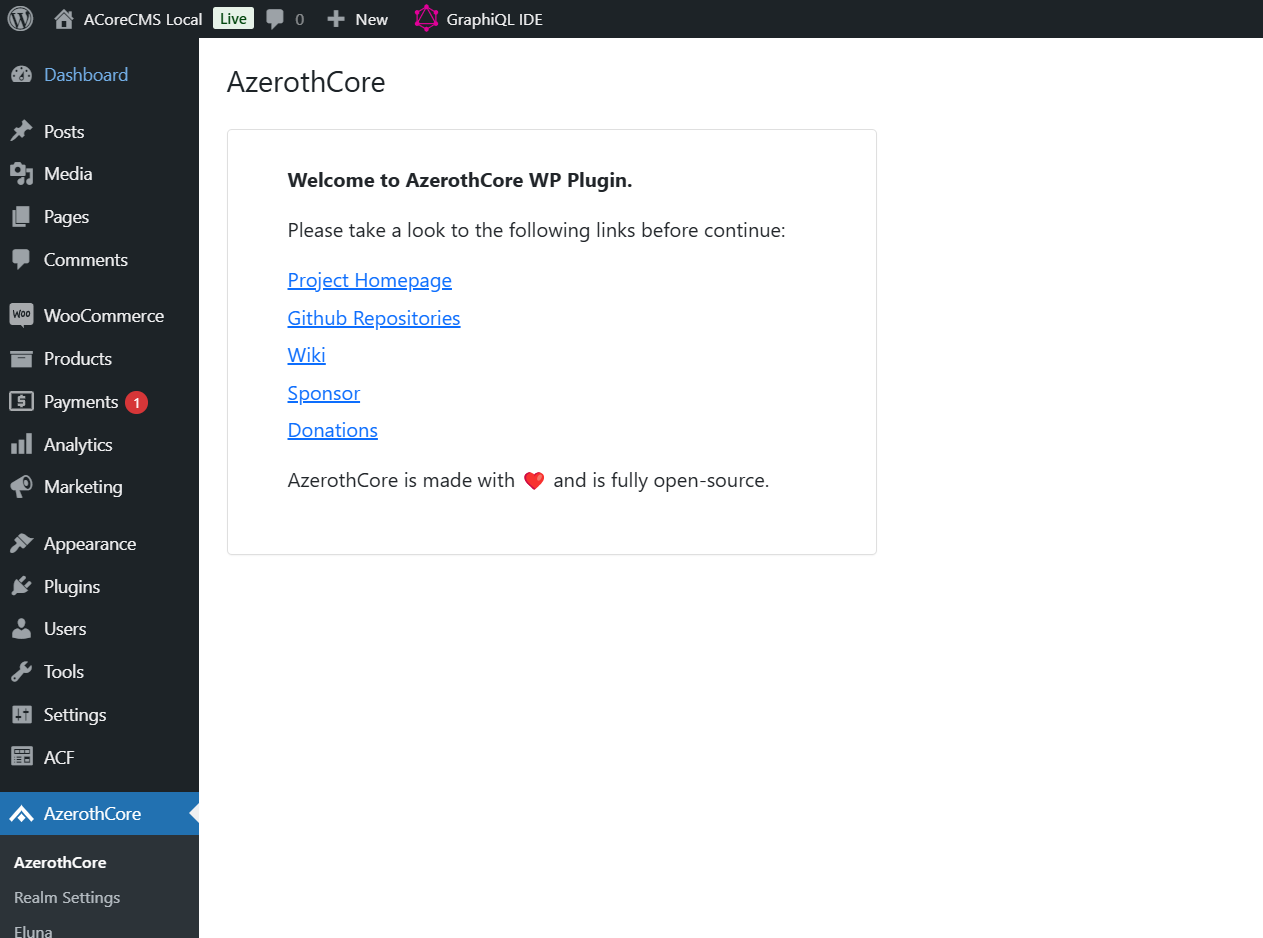
Click to see the dashboard
Requirements
- Docker & docker-compose
- Nodejs & npm
Installation & Usage
0. Run the init scripts
Either using a terminal of choice Linux Terminal, Powershell, Git Bash others.
Go in the folder of your downloaded or cloned repository e.g C:\Users\Ryan Turner\Documents\Github\acore-cms
cd "C:\Users\Ryan Turner\Documents\Github\acore-cms"
Run the init.sh (example for Git Bash or Linux Terminal) Type ./init.sh and it will run it
./init.sh
[!IMPORTANT] This script will initialize the project and set up the required configuration files. This is also required to clone the necessary Git Submodules that this project uses.
1. Configure your .env file
Create an .env file and copy the .env.docker content file to .env, configuring the variables as you prefer.
# Linux / Git Bash
cp .env.docker .env
# Windows (CMD)
copy .env.docker .env
Now inside of your
The most important variables are:
DOCKER_WORDPRESS_URL=http://localhost # the url of the website
DOCKER_WORDPRESS_TITLE=ACoreCMS # the title of the website
DOCKER_WORDPRESS_ADMIN_USER=admin # the wordpress admin username
DOCKER_WORDPRESS_ADMIN_PASSWORD=admin # the wordpress admin password
DOCKER_WORDPRESS_ADMIN_EMAIL=[email protected] # the wordpress admin email
2. Build and start the docker containers
npm run docker:install
This process will take some time, once everything is done you should get a message like this in your console:
php-1        | [31-Dec-2024 13:13:27] NOTICE: fpm is running, pid 1
php-1        | [31-Dec-2024 13:13:27] NOTICE: ready to handle connections
Now you can see the website in http://localhost:80/.
Make sure that your port 80 is not already used by another service like Apache2, nginx etc.
If you want to change the port, you can change it from .env through the parameter DOCKER_HTTP_PORTS and DOCKER_HTTPS_PORTS.
Example:
DOCKER_HTTP_PORTS=8080:80
DOCKER_HTTPS_PORTS=443:443
The env variables above are used to configure the ports within the docker-compose file. To understand how port configurations work in docker-compose, please take a look at the official documentation
Note: if you change this after the wordpress installation remember to change also the siteurl and related wordpress parameters in wp_options table.
Finally, you can stop your containers with Ctrl+C
3. Run WordPress in background
You probably don’t want to have your terminal busy with the docker-compose logs, so you can run the containers in background mode:
npm run docker:start:d
4. Update the containers
If you want to update the containers, you can run the following command:
npm run docker:update
NOTE: wordpress files and database will be preserved. To update the wordpress version, you need install it manually through the admin panel.
Guides
- Connect the CMS to AzerothCore server and enable the shop
- Connect the CMS to AcoreDocker and enable the shop
- How to install a theme
Useful tutorials:
Work with local source files
By default, the source files of the wordpress installation are stored in a named volume. This is useful for production environments, but if you want to work with the source files locally, you can use a host folder instead of the named volume.
You can set the DOCKER_WORDPRESS_SRC_PATH variable in the .env file to the path of the host folder you want to use.
DOCKER_WORDPRESS_SRC_PATH=./srv
Export and import source files from the named volume
Export source files
You can export the source files of the current wordpress installation inside the /srv folder (backup) with the following command:
npm run docker:srv:export
Import source files
You can import the source files under /srv/ folder inside the /var/www/html container folder(restore backup) with the following command:
npm run docker:srv:import
IMPORTANT: this command needs to be executed with a bash-compatible shell and it will stop the php running container. After the import is done, you can start the container again.
AzerothCore integration
ACore CMS is designed to work with AzerothCore. The ac-network included in our docker-compose file is a network that connects the AzerothCore server with the CMS. This network can be flagged as external which means that you need an azerothcore server spinned up using its own docker-compose file to make it work. If you are using azerothcore with the docker-compose file provided by us, you can running acore-cms with docker by setting DOCKER_AC_NETWORK_EXTERNAL to true in the .env file.
Please check this guide: Connect the CMS to AcoreDocker and enable the shop
Multirealm support
ACoreCMS is designed to support multiple AzerothCore realms by creating new WordPress sites. Multi-site support is enabled by default, but it can be switched off before the installation if desired. This allows you to create multiple websites within a single WordPress installation. You can manage multiple AzerothCore realms by creating a new WordPress site for each realm.
NOTE: AzerothCore plugin supports a single connection with a single character database, which is why it’s important to create multiple sites such that each site has different character connections.
Subdomain vs. Subpath
You can choose to create new websites either in a subdomain or a subpath. This is controlled by the DOCKER_MULTISITE_USE_SUBDOMAIN environment variable.
- Subdomain: If you set
DOCKER_MULTISITE_USE_SUBDOMAINtotrue, new websites will be created in a subdomain (e.g.,site1.example.com,site2.example.com). - Subpath: If you set
DOCKER_MULTISITE_USE_SUBDOMAINtofalse, new websites will be created in a subpath (e.g.,example.com/site1,example.com/site2).
Nginx Configuration for Subdomain Support
If you choose to use subdomains, you need to create an Nginx configuration to support the subdomains. This can be done by setting the DOCKER_CONF_NGINX_PATH environment variable and creating your own Nginx configuration file.
Please follow this guide to configure Nginx for subdomain support: Nginx Configuration for Multisite Support
By following these steps, you can configure your WordPress installation to support multiple AzerothCore realms using either subdomains or subpaths.
CLI commands available
npm run docker:install # install the docker containers

npm run docker:update # update the docker containers

npm run docker:start # start the docker containers in foreground

npm run docker:start:d # start the docker containers in background (deamon)

npm run docker:shell # open a bash shell inside the php container

npm run docker:remove # Remove all created containers

npm run docker:stop # Stop all running containers

npm run docker:logs # Show the logs of the running containers

npm run docker:db:export # Export the mysql database of the current wordpress installation inside the /data/sql folder (backup)

npm run docker:db:import # Import the sql files under /data/sql folder inside the mysql database of the current wordpress installation (restore backup)

npm run docker:src:export # Export the source files of the current wordpress installation inside the /srv folder (backup)

npm run docker:src:import # Import the source files under /srv folder inside the /var/www/html container folder(restore backup)
Using docker-compose.override.yml to extend the default one
If the .env variables that we provide are not enough for your configuration needs, you can always use the official “docker-compose override” strategy.
We’ve provided a sample docker-compose.override.yml file within the /data/ directory that includes a phpmyadmin container. You can copy/paste that file
within the root directory of this project (it is git-ignored) and configure it as you prefer. Make sure to read the official docker-compose documentation first
to exactly understand how to use it.
How to export/import database with the integrated tool
Acore-cms integrates a script under /apps/db_exporter folder that helps you to export the entire database in a SQL dump format.
This script uses the /conf/dist/conf.sh file to configure the db credentials. If you need to change those configurations, you can just
copy/paste that file inside the /conf/ folder to override default values (the files in that directory are git-ignored).
NOTE: by default sql files will be exported inside the /data/sql folder
database export
npm run docker:db:export
database import
npm run docker:db:import
Install acore-wp-plugin as standalone
If you want to install the acore-wp-plugin as a standalone plugin, you can follow the instructions in the acore-wp-plugin repository.
Plugin and Theme Configuration System (Docker only)
ACore CMS includes a flexible configuration system that allows you to install WordPress plugins and themes with docker initialization scripts (you can find them in the /apps/init directory).
Configuration Directory
External configurations are loaded from the /conf/init/ directory, which can be mounted from your host system. This directory should contain .conf files that define which plugins and themes to install and activate.
Configuration Format
Create .conf files in your conf/init/ directory with the following format:
#!/bin/bash

# Add plugins to install and activate
# Format: "Plugin Name|plugin-source"
# Source can be: slug (from WP repo), URL, or file path
plugins_install+=(
    "WooCommerce|woocommerce"
    "Custom Plugin|custom-plugin|https://example.com/plugin.zip"
    "Local Plugin|local-plugin|/tmp/plugins/local-plugin.zip"
)

# Add themes to install and activate
# Format: "Theme Name|theme-source"
# Source can be: slug (from WP repo), URL, or file path
themes_install+=(
    "Twenty Twenty-One|twentytwentyone"
    "Custom Theme|custom-theme|https://example.com/theme.zip"
    "Local Theme|local-theme|/tmp/themes/local-theme.zip"
)

# Add plugins to activate only (already present in container)
plugins_activate_only+=(
    "Existing Plugin|existing-plugin-slug"
)
Sources
The system supports multiple sources for plugins and themes:
- WordPress Repository: Use the slug
plugins_install+=("WooCommerce|woocommerce") themes_install+=("Twenty Twenty-One|twentytwentyone") - URLs: Direct download links to zip files
plugins_install+=("Plugin Name|plugin-slug|https://releases.example.com/plugin.zip") themes_install+=("Theme Name|theme-slug|https://releases.example.com/theme.zip") - Local Files: Zip files mounted into the container
plugins_install+=("Local Plugin|local-plugin|/tmp/plugins/local-plugin.zip")
themes_install+=("Local Theme|local-theme|/tmp/themes/local-theme.zip")
Local zip files
You can place your plugin or theme zip files in the /data/plugins/ or /data/themes/ folders (which are mounted as /tmp/plugins and /tmp/themes in the container) and reference them in your configuration:
#!/bin/bash

plugins_install+=(
    "Custom Plugin|custom-plugin|https://example.com/plugin.zip"
    "Local Plugin|local-plugin|/tmp/plugins/local-plugin.zip"
)

themes_install+=(
    "Custom Theme|custom-theme|https://example.com/theme.zip"
    "Local Theme|local-theme|/tmp/themes/local-theme.zip"
)
Default Plugins and Themes
ACore CMS comes with a default set of plugins and themes that are always installed:
- Plugins: WooCommerce, WPGraphQL, WPGraphQL ACF, myCred, Advanced Custom Fields, ACore WP Plugins (activation only)
- Themes: None by default
External configurations add to or can override these defaults by modifying the plugins_install, themes_install, and plugins_activate_only arrays.